Thursday, August 30, 2012

Master Bath

Slowly but surely I'm updating the master bath decor.  So far I've refinished the cabinets and painted the walls.  After re-doing the kitchen cabinets, I think I'm going to put a glaze on the bathroom ones so that they blend better with the counter top...I also intend to switch out the hunter green time rows with some glass tiles, add trim around the mirror, add a curtain, plus a little experiment that I'll post once I know it will work.


I added this above the entrance to the toilet - the L and E are wrapped in yarn from my Granny's collection, and the O and V are covered with scrap book paper.

Back yard


This update actually happened in the spring but I've just now been able to post about it!

My wonderful brother took his time while he was in town from Oregon to add on to my patio in the back yard.  Not only did the extra space help for a place to set up, it also got rid of the mud the dogs would track into the house after a rain.


Instead of investing in steel, we used some extra fencing our mother had on her property.

The cement company did us a favor and delivered the cement to us!


The knockout rose bush in the center is planted in my mother-in-law's memory - I call it the "Mimi Rose"

After the new sod was laid down...

Wednesday, August 1, 2012

Kitchen update


When I originally purchased my house almost a year ago, I knew right away that I eventually wanted to update my kitchen.


I got a new stainless steel dishwasher for my birthday, so it really got me wanting to do something in there.


I can't afford a complete overhaul, but I did pick up the Rustoleum cabinet kit from Home Depot for $79.00.  I love the look of different color lower and upper cabinets, but I just couldn't commit to doing this completely.  Instead, I picked up two "oops" sample paints, cost $0.50 each to use as an accent color.

This system is a three to four-step process.

Step one - remove doors and hardware - use de-glosser to clean the grime and remove the glossy factory finish from the cabinets.

Step two - two coats of the base color.  As you can see I didn't do much else while I was doing this!!


Step three - add glaze (this is an optional step if you prefer just the painted look).  The lighting is not great, but you can see the difference the glaze made.


Step four - apply the protective top coat - WARNING - the finish scratches really easily until you apply the protective finish, and it is NOT EASY to touch up once the glaze is on, so use extra caution when moving things until you are completely done.


 This has been a very easy product to use, but doing it by yourself does take LOTS of time!  I just love the outcome!  Once I can afford it I will add hardware to complete the look.

Here's one last look at the before and after shots:


Friday, April 13, 2012

Bedroom 1

Well, it turns out I've discovered I don't have what it takes to be a full-blown blogger - TIME!  So, I'll just post new stuff when I can and hope anyone who sees it enjoys.

UPDATE:  I found a mirror on sale at Hobby Lobby - looks great in this room!  Original price $99, I paid $34!!


Not a lot of updating on this room - I'm still working on creating a large piece of artwork for the long wall, but I have ALWAYS wanted to paint a room red, and it turns out my son wanted one, so here we go. (He wanted the ceiling red too, I just couldn't do it!) I used Glidden Candy Apple Red paint plus primer - 2 coats was all it took and it was so easy to use!  The ceilings are very high in the room, so I used about 1 1/2 gallons for the entire project.

Before:
BORING!

And After:
Sensi thinks this is her room ;0)

Eventually I'll refinish the furniture to black...

The artwork really pops against the red, don't you think? I spray painted the small lamp with a nice glossy white.

   It's really hard to come up with artwork ideas for a teen boy's room, so a fun idea I had was to use the front cover of a football program and frame it above his team picture - great piece and it didn't cost anything extra! On the other wall is a TCU logo that I painted on a canvas I already had, so another no-cost option.  The total cost for the project was just the paint at about $50!

Tuesday, March 13, 2012

Laundry Room

Ahh, the Laundry Room. I do A LOT of laundry with two active teens - it is also the garage access, so I am  in and out of there constantly throughout the day.

Before - dull! and OLD washer/dryer set that needed to go!
I was fortunate enough to be handed down a stackable washer& dryer combo, so I had to re-configure the shelf/hanging bar that was existing.  Since I don't have a "hubby" I just figure out how to do these things as I go...


Once I had the shelf and bar down I gave the shelf a quick coat of fresh paint and went to painting the room and hanging the shelf back up. Note to self and others - when changing out the dryer plug from a four-prong to three-prong - DO NOT put the plug into the outlet before it is attached to the dryer!  I got it too close when I was making sure that it was the right one and the sparks flew!  Thankfully I wasn't holding the end they came out of!  Better safe than sorry with electricity so if you don't know how to do it - find someone that does...

I'm so glad to have the stackable w/d, and the extra height of the bar is perfect for hanging pants now.

When I first moved in, there was an empty nook that was calling out for some shelves. I painted some mismatched TV stands I had around the house a great aqua color to make them uniform, but I knew eventually I wanted something a little more permanent. I must have really loved the color because when I went to buy the paint for the room, I ended up with a nearly perfect match! 

Those shelves need some organization!

I picked up a stainless steel shelf to fill in the space left from where the dryer went (and cover up the dryer vent), and to give me some work space, cost $30.00 - I used laundry baskets I already had for the boys' clean clothes and a set of baskets, also already on hand, to hold dish towels, trash bags, and room freshener extras.


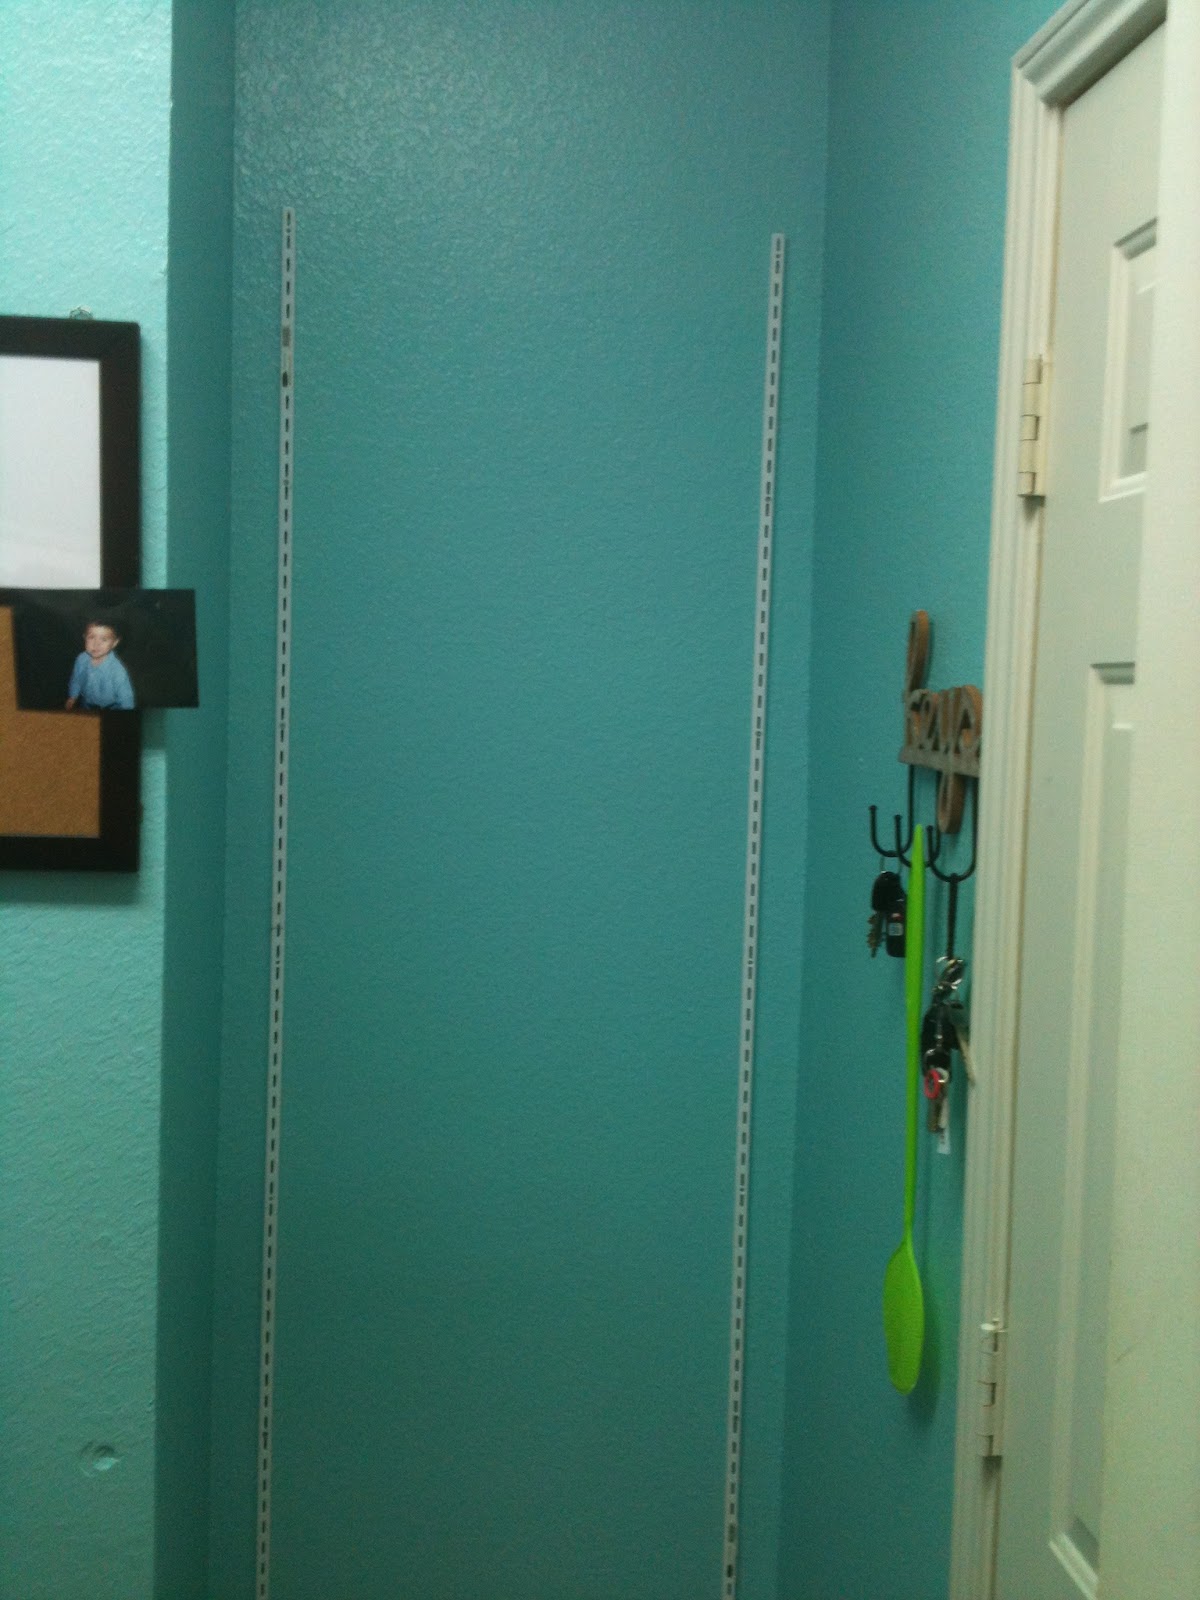
Back to the nook...I wanted something that would be versatile that I could change when I needed to, so I picked up this system, approximate cost was $50 for the four shelves and mounting brackets.

 Although I needed versatility, I did not really want to see the rods that the shelves hang on, so I took a trip to the fabric store and scored!   The fabric I found was half price, so I paid $7.50 for three yards!  I wanted a punch of color, so I purchased a poppy colored ribbon to cover the edges of the fabric. I used a staple gun to hang the fabric and hot glue to attach the ribbon to the fabric, so this could be a great option for living in an apartment as well - little damage to the walls!  I love the new look!


To install the shelves, I cut small slits in the fabric - if I want to move them I will simply seal the edges with some mod podge to keep them from fraying. They are small enough that they won't be seen unless someone is really looking for them.


Now I enjoy going into this room. The bright color and pattern on one wall is perfect for me, and the painted shelves give the garage some color.  Total cost around $120.00.

Monday, March 12, 2012

Home Office

Update - a cute little accessory I made...from cans and remnant fabric

B4

After - green beans, baked beans, and tuna cans never looked so good!

 The beginning...The house I purchased was already in great shape, so luckily there was no rush to change anything.  The first room I completed the decorating in was my home office since I spend so much time in there.  I re-used things I already had, and purchased two accessories (the cute little birds on the candle sconces) - a total budget of $16.00!

B4:
Photo from previous owners


and After:

A nice place for visitors to sit while I work (or a cozy place to take a break!)

My favorite area in the space
I made the board by buying 6 frames, the were buy one get one of course, adding cork to three and photos from a New Orleans visit in the others, and the striped boxes on the bookshelf are shoe boxes covered with wrapping paper to hold my paint supplies.